Five Best 3D Printing Methods
1. Fused Deposition Modeling (FDM) 3D Printing
Fused Deposition Modeling (FDM) 3D Printing:
Fused Deposition Modeling (FDM) is a popular 3D printing technology that works by heating and extruding thermoplastic filaments to create solid, three-dimensional objects layer by layer. This additive manufacturing process is widely used for rapid prototyping, custom manufacturing, and low-volume production.
Fused Deposition Modeling (FDM) Step by Step Process:
Design: Start by creating a 3D model using computer-aided design (CAD) software.
Slicing: Use slicing software to convert the digital model into thin cross-sectional layers.
Preparation: Load the selected filament material (e.g., PLA, ABS) into the 3D printer.
Heating: The printer's nozzle heats up to specific temperatures (e.g., 180-230°C for PLA, 210-250°C for ABS).
Extrusion: The molten filament is extruded onto the build platform according to the sliced layers.
Layering: Successive layers are added on top of each other, fusing together as they cool.
Cooling: Each layer solidifies quickly to support the next layer.
Completion: Once all layers are printed, the object is left to cool and harden before removing it from the build platform.
Temperature: Typically, the nozzle temperature ranges from 180-250°C, while the heated bed temperature varies between 50-100°C.
Time: Print times can vary widely based on the size, complexity, and resolution of the object, ranging from a few minutes to several hours.
Pros of using FDM Printing:
FDM is relatively affordable compared to other 3D printing technologies.
FDM supports a wide range of thermoplastic materials, offering flexibility in material selection.
The process is straightforward, making it accessible to beginners and experienced users alike.
Cons of using FDM Printing:
The layer-by-layer approach can result in visible layer lines on the final print.
FDM prints may have lower strength and durability compared to other manufacturing methods.
Complex designs may require support structures that need to be removed post-printing.
2. Stereolithography (SLA) 3D Printing
Stereolithography (SLA) 3D Printing:
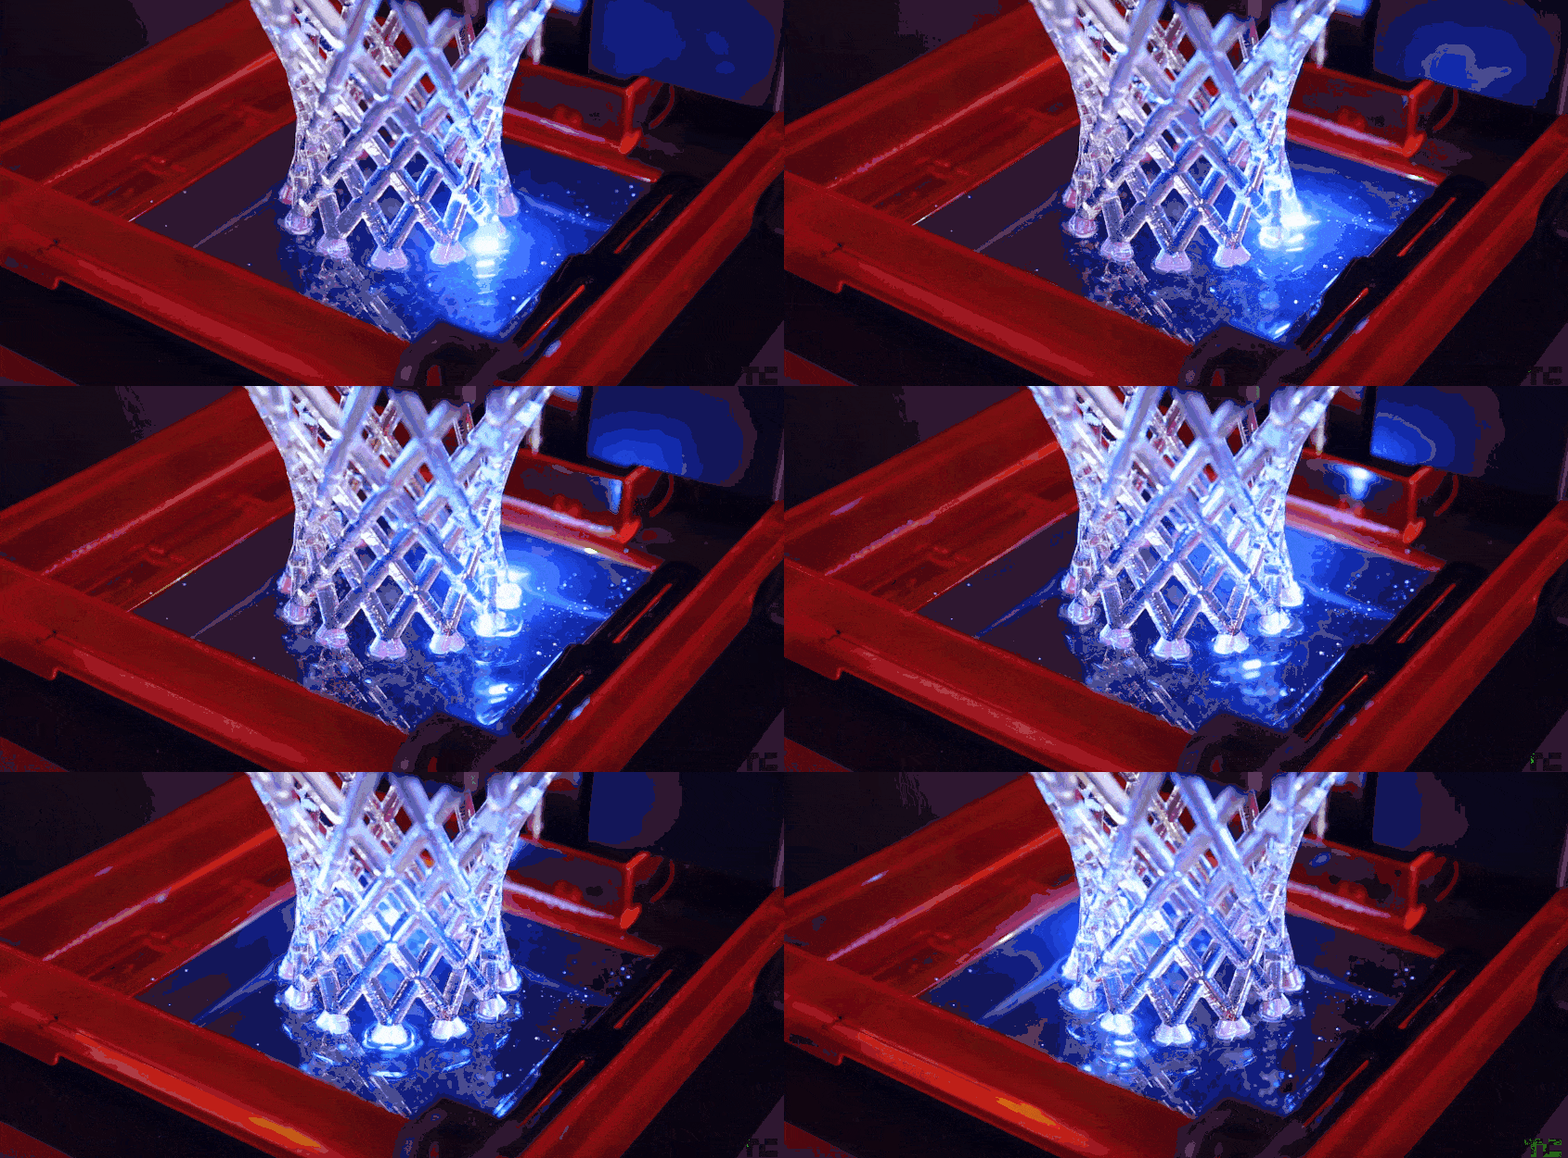
Stereolithography (SLA) 3D printing is a widely used technology in additive manufacturing that produces high-resolution, detailed parts. It involves the use of a photosensitive liquid resin that is selectively cured by a precision UV laser to create solid layers that gradually build up a 3D object.
Stereolithography (SLA) Step by Step Process:
Preparation: A 3D model is sliced into layers using specialized software to prepare it for printing.
Fill Resin Tank: The liquid resin is poured into a tank where a platform is submerged just below the surface.
Laser Curing: The UV laser scans the cross-section of the model on the surface of the resin, solidifying the material layer by layer.
Platform Movement: After each layer is cured, the platform moves down by a precise distance, allowing for the next layer of resin to be exposed to the laser.
Rinsing and Curing: Once the printing is complete, the object is removed from the resin tank and rinsed to remove any uncured resin. It is then post-cured in a UV oven to strengthen its structure.
Pros of using SLA Printing:
SLA can achieve intricate details and smooth surfaces, making it ideal for creating prototypes and parts with fine features.
A variety of materials are available for SLA printing, including engineering-grade resins with different properties like flexibility, strength, and temperature resistance.
SLA is known for its faster print times compared to other 3D printing technologies, making it efficient for rapid prototyping and production.
Cons of using SLA Printing:
The equipment and materials for SLA printing can be relatively expensive, especially for large-scale production.
Complex geometries may require support structures during printing, which can be time-consuming to remove and may leave marks on the final part.
The build volume of SLA printers is typically smaller compared to other 3D printing methods, restricting the size of objects that can be produced in one piece.
3. Selective Laser Sintering (SLS):
Selective Laser Sintering (SLS):
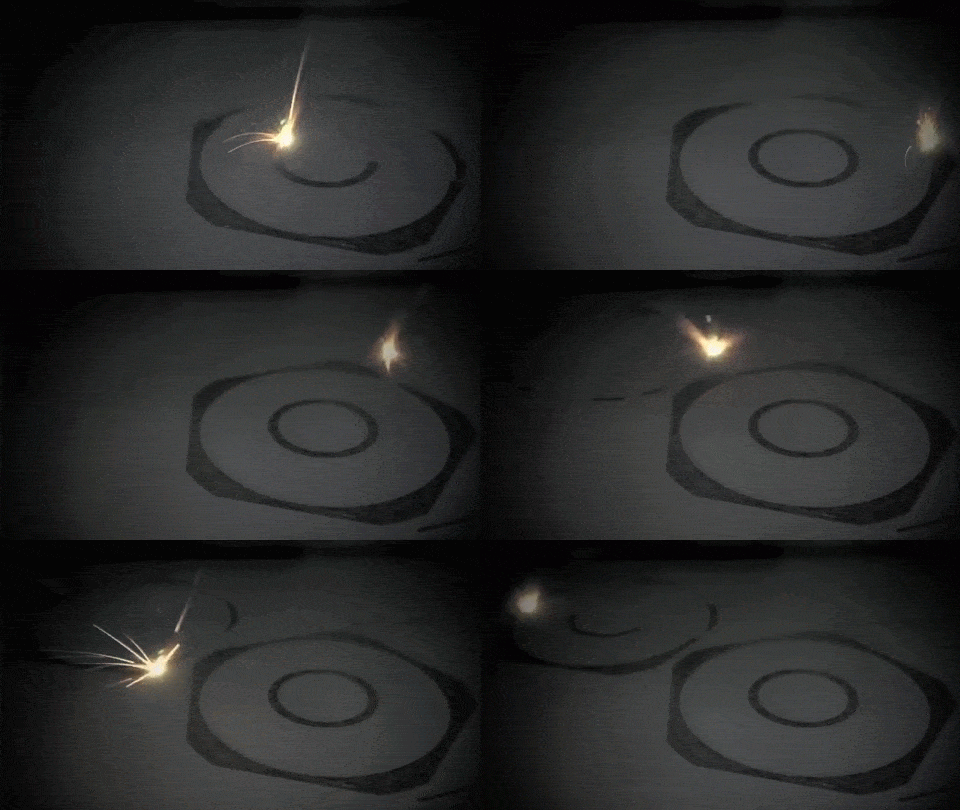
Selective laser sintering (SLS) is an additive manufacturing method where a high-power laser selectively fuses powdered materials, layer by layer, based on a digital model. This process creates three-dimensional objects with precise details and strong structural integrity.
Selective Laser Sintering (SLS) Step by Step Process:
Preparation: Prepare the 3D model and slice it into layers.
Material Loading: Fill the build chamber with the powdered material (e.g., nylon powder for plastics).
Laser Sintering: A laser selectively sinters the powdered material according to the cross-section of the object for each layer.
Cooling and Layering: After sintering each layer, the build platform descends, and a new layer of powder is spread over the previous layer.
Finishing: Once printing is complete, remove the object from the powder bed, brush off excess powder, and post-process as needed (e.g., heat treatment for metals).
Pros of SLS Printing:
Can use a variety of materials including plastics, metals, and ceramics.
Good for producing functional parts with high strength and heat resistance.
No need for support structures as unsintered powder supports the object during printing.
Can achieve complex geometries and thin walls.
Cons of SLS Printing:
Equipment and material costs are generally higher than FDM and SLA.
Surface finish may be rougher compared to SLA.
Post-processing involves removing excess powder and potentially heat treating metal parts.
4. PolyJet Fusion Printing
PolyJet Fusion Printing:
PolyJet Fusion printing employs inkjet technology to deposit liquid photopolymer materials in layers, which are then cured with ultraviolet light to create solid objects. This method is known for its ability to produce parts with diverse material properties and colors in a single print job, making it ideal for complex prototypes and functional components.
PolyJet Step by Step Process:
Preparation: Load the 3D model into the printing software and slice it into layers.
Material Loading: Fill the print heads with different photopolymer materials.
Inkjet Deposition: Print heads deposit droplets of photopolymer material onto the build tray according to the cross-section of the object for each layer.
UV Curing: UV light cures the deposited photopolymer, hardening it into the desired shape.
Layering and Support Removal: Repeat the process for each layer, and once printing is complete, remove the object from the build tray and remove any support structures.
Pros of PolyJet Printing:
High resolution and excellent surface finish, suitable for detailed models and prototypes.
Multi-material printing capabilities allow for different material properties in the same object.
Can produce parts with multiple colors and textures.
No support structures needed due to the use of gel-like support material.
Cons of PolyJet Printing:
Higher cost of printers and materials compared to FDM and SLA.
Limited build size and production speed.
Photopolymer materials may have lower mechanical properties compared to some other materials.
5. MultiJet Fusion (MJF) Printing
MultiJet Fusion (MJF) Printing
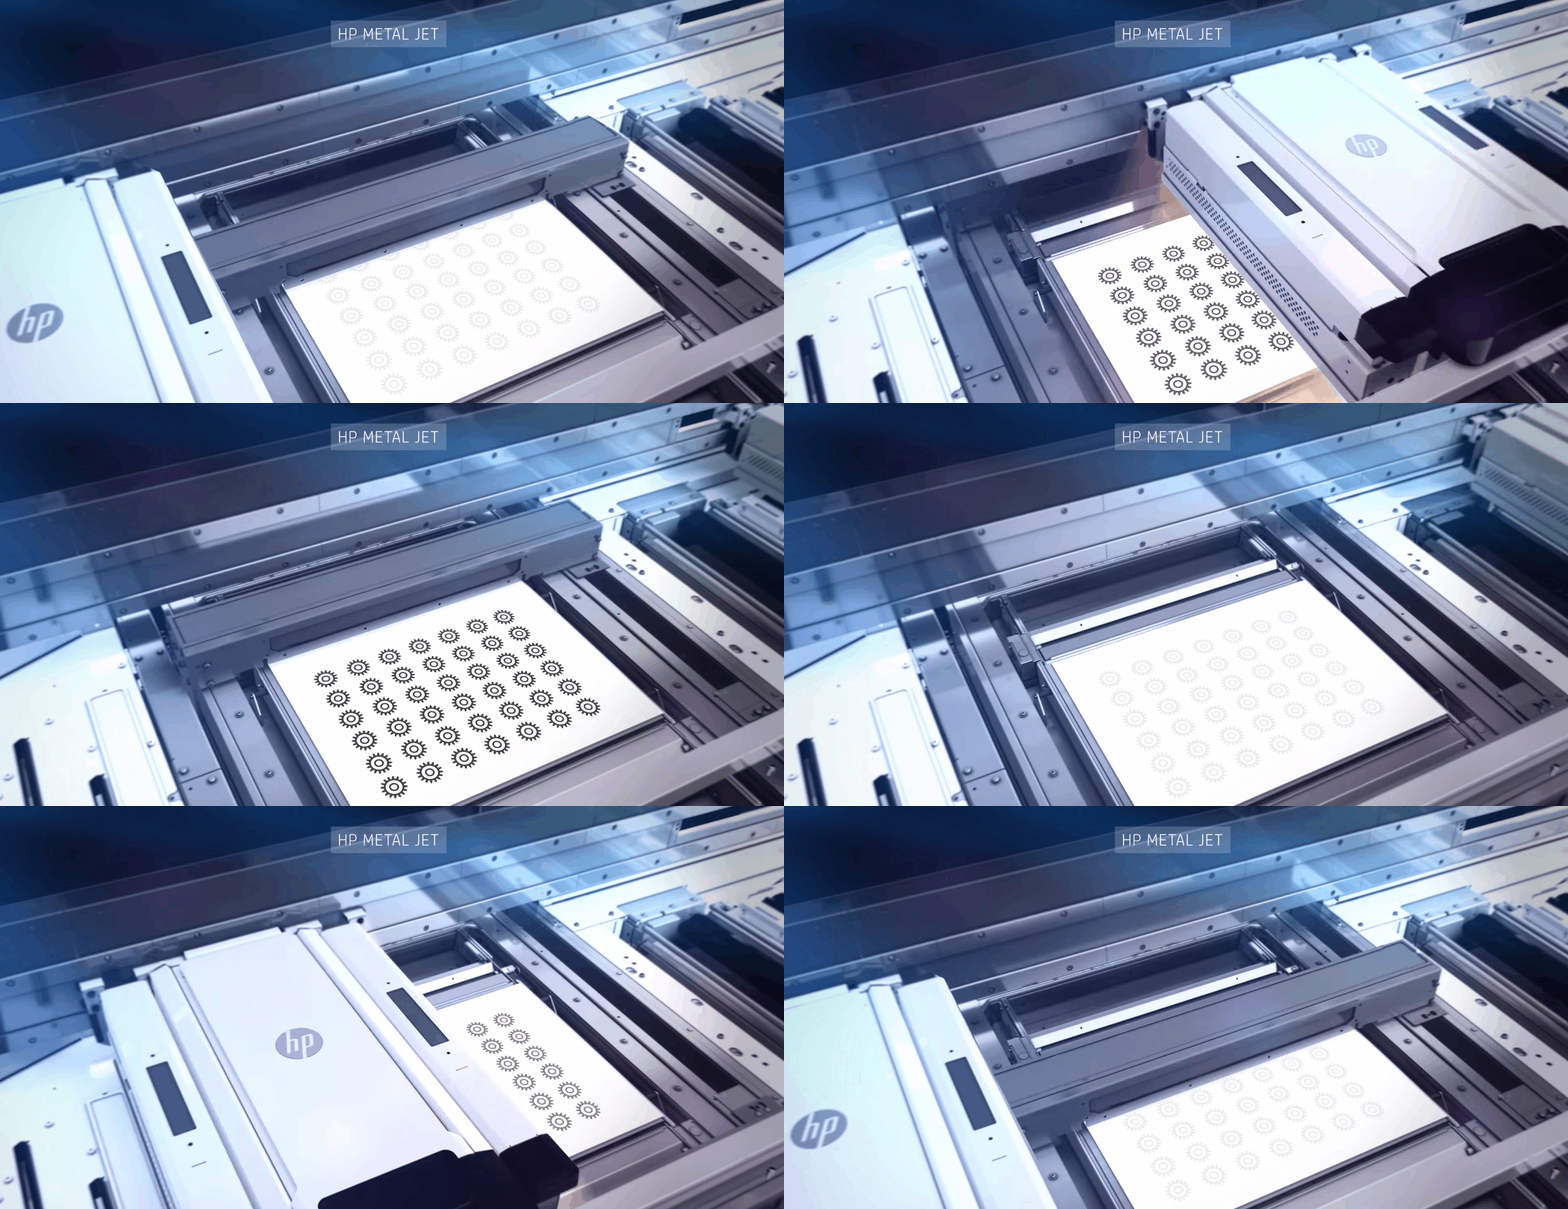
Multi Jet Fusion (MJF) printing is an advanced additive manufacturing process that selectively applies fusing and detailing agents onto a powdered material bed, fuses them with intense infrared energy, and cools them to create precise three-dimensional objects. Known for its speed, fine surface finish, and ability to produce intricate functional parts in a single pass, MJF is widely used in industrial prototyping and production.
MultiJet Fusion (MJF) Step by Step Process:
Preparation: Prepare the 3D model and slice it into layers.
Powder Bed: Spread a thin layer of powder (e.g., nylon) evenly across the build platform.
Inkjet Printing: Print heads selectively apply fusing and detailing agents onto the powder bed according to the cross-section of the object for each layer.
Heating and Fusion: A heating element then fuses the powdered material where the fusing agent was applied, forming each layer of the object.
Cooling and Finishing: After printing is complete, let the object cool, remove it from the powder bed, and brush off excess powder. Post-processing may include additional heat treatment for enhanced properties.
Pros of MJF Printing:
High printing speed compared to some other methods.
Excellent mechanical properties, making it suitable for functional parts and prototypes.
Can achieve fine details and complex geometries.
Powder bed allows for high-volume production.
Cons of MJF Printing:
Limited material options compared to methods like SLS.
Post-processing may involve bead blasting or additional heat treatment for enhanced properties.
Initial investment and material costs can be higher than FDM


